from : Apil
Step 1
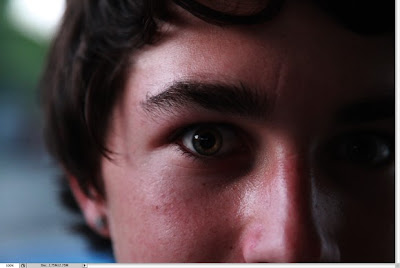
Open the photo you want to apply the effect in Photoshop.
Step 2
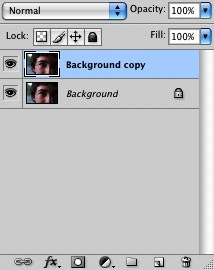
Duplicate Background Layer.
Step 3
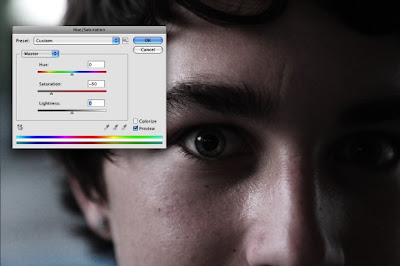
Go to Image>Adjustments>Hue and Saturation (CTRL/CMD+U). Use -60 for the Saturation.
Step 4
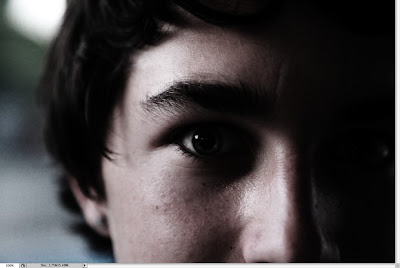
Go to Layer>New Adjustment Layer>Gradient Map. Use Black and White for the colors and change the Blend Mode to Soft light.
Step 5
Select the Brush Tool (B) and use a Hard Edged brush at 30% opacity and paint some light back into the iris by just painting over the layer mask of the adjustment layer.

Step 6
Create a new layer and fill with 50% gray and set the Blend Mode to overlay. Also use Dodge Tool to bring out eyes. Use Midtones and 60% exposure then repeat steps 5 & 6 except use a smaller brush and focus on more detailed areas to bring out.
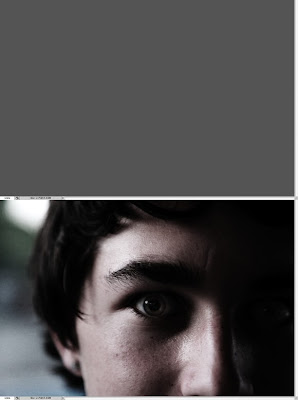
Step 7
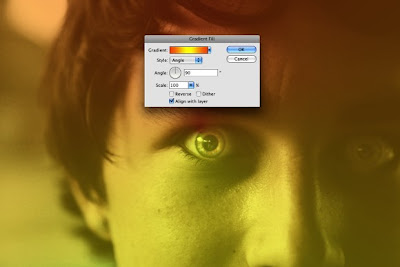
Create a new gradient fill layer and set to angle gradient. invert layer mask and paint the iris. Set Blend Mode to Color. Opacity: 50%
Step 8
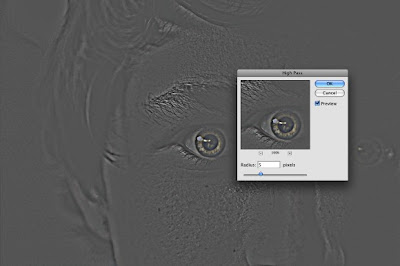
Apply image to a new layer Ctrl/Cmd + shift + alt/opt + e. Set to Overlay the Blend Mode, then go to Filter>Other>High Pass with a radius of 5.
Conclusion
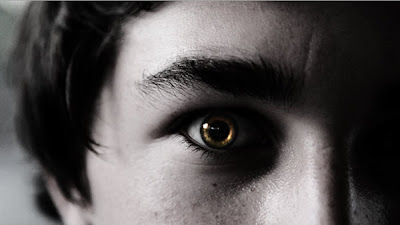
Here's the final result. You can use different colors or even add some glow, now it's up to you.


Tiada ulasan:
Catat Ulasan