FROM : APIL
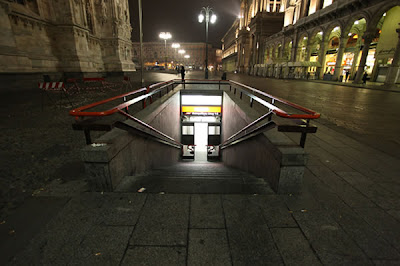
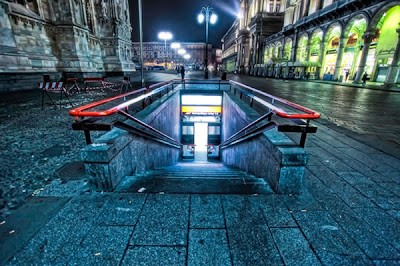
We start from this original picture, I took on a night in Milano. First, we want to add some cool night tint to this. So, we lower the Temperature a bit, let’s say -32 and play with the other sliders as you see fit.
Original Image
Don’t worry about the settings, you can’t do much wrong. We’ll return to Lightroom later and correct everything that doesn’t look right. Always remember the great J key, that can show you when you are losing details in high- lights and shadows.
Step 1
First of all, we start into Lightroom. I am a big fan of it. The Lightroom 3 beta is free on Adobe, so you might want to download that. It’s a great, great tool that makes your job easier.
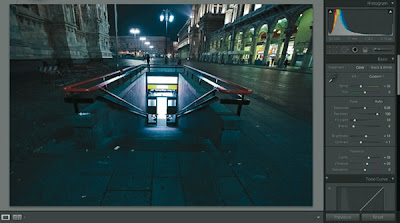
Step 2
Now export it into Photoshop. Here, don’t forget to make it 8 bits / Channel, so you can save it as a jpeg. Save this image, with your Lightroom adjustments.
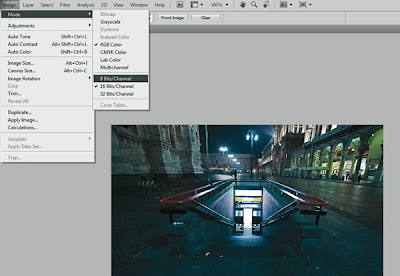
Step 3
Overexpose and underexpose the image by 2 points and save each version with a different name, so now you have 3 images with different exposures [+2,0,-2]
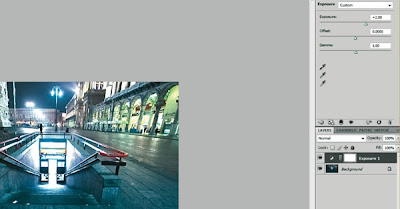
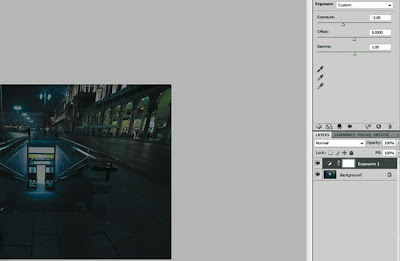
Step 4
Now open Photomatix, hit Generate HDR, browse and select your 3 photos. Specify exposure manually, if Photomatix does not auto-detect it. I use these settings, but you probably shouldn’t worry about this.
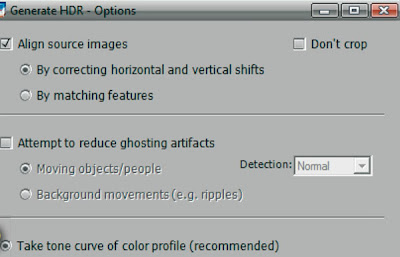
Step 5
Click OK and now you will see a crappy image. This is because your monitor cannot display HDR. Don’t worry about it, it’s alright. Hit the Tone Mapping button on the bottom.
Now, for the settings, you should keep Strength at 100%, the Color Saturation at 40-60 [I keep it at 50 for this specific image], just try not to over-saturate the image. You can add saturation at any time later. For the Light Smoothing, it should be 4 or 5, any less will give you a very surrealistic image that is not very cool. Play with Luminosity as you see fit.
Be careful about the histogram you see there, so you have it inside the frame, if it bleeds out, you’re losing light. Shout out to Trey Ratcliff for teaching me that. For the other settings, Tone, Color, Micro and S/H, play with them as your eye sees fit. There should be no right and wrong as you try not to overdo things. I usually play only with the white and black point and leave the rest on default. Hit Process and save the HDR.
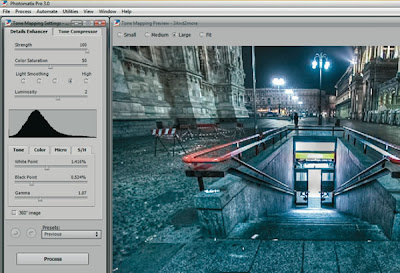
Step 6
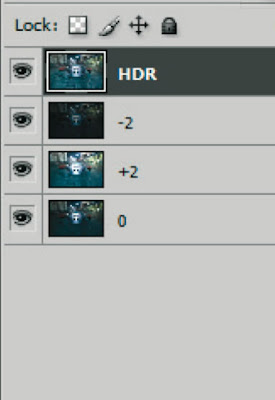
Now comes the part when you have to work a little, that part where the difference is made between all those fake HDRs generated by plugins and the real thing. Bring all 4 images into Photoshop and align them on top of each other, with the HDR on top. I usually have my -2 layer under my HDR, my +2 and then my 0 in the end. I don’t think this makes a huge difference though.
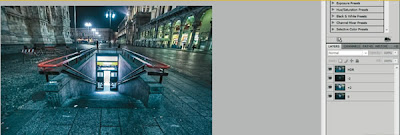

Step 7
Add a mask on the top layer, using that button below the Layers panel. With a 10-50 black soft brush, start painting on the layer mask, so that the -2 shines through. For this picture, paint the ground and the buildings, so you add a little more depth to the shadows. Also, if those street lights are too strong for your taste, paint on them, too. When done, just merge the 2 layers, CTRL+E, and add a mask to the new layer, that has the +2 layer beneath it. In the same way you did above, bring some highlights in now, Don’t worry about mistaking, since you are painting on a mask and you can always add back by using a white brush. If you don’t like merging the layers, create a duplicate and hide it, before merging it, just so you work non-destructively at any time. I hope this makes sense.
Continue until you flatten the whole image. Now you should use a software like Noiseware Professional or the old fashioned G. Blur, cause HDR’s tend to create tons of noise.
In the end, bring your picture into Lightroom again for final adjustments (maybe some exposure or tint).
Conclusion
If you’re still not satisfied completely, bring it again into Photoshop and do some dodging and burning with a soft low opacity brush. Or create a new layer above, set it to overlay, 30% opacity, and paint with a soft white brush for highlights and black for shadows.


1 ulasan:
byk la pulak software yg di perlukan untuk edit pic ni..huhu
Catat Ulasan