Tutorial - Cara Membuat Teks Grunge Menggunakan AI
Tutorial Details
* Program: Adobe Illustrator CS4
* Difficulty: Basic
* Estimated Completion Time: 15mins
Sometimes you have to break out of the design box and go crazy! In this vector quick tip you will learn how to create a grungy text effect without ending up with a complete mess. Using a digital tablet and the blob brush you can create images that have energy and chaos all held together with a few design tips.
Step 1
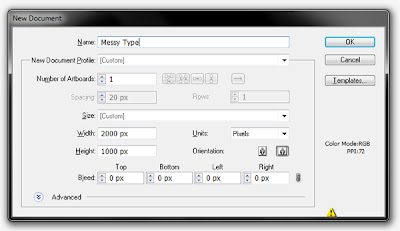
Start by opening Adobe Illustrator and creating a new Web Document. I’ve made a 2000px X 1000px document, but you can use your own preference. Create a black rectangle and lock its layer.
Step 2
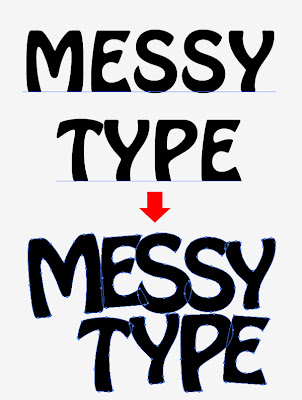
Create a new layer, call it ‘text’ and type some text there. The font I used is a 300 pt Hobo Std Medium. Next go to the Type menu and choose Create Outlines (Shift + Control + O). Ungroup and play with the separate shapes to give them a random feel. Resize, rotate and reposition the shapes to your liking. This is what I finished up with:
Step 3
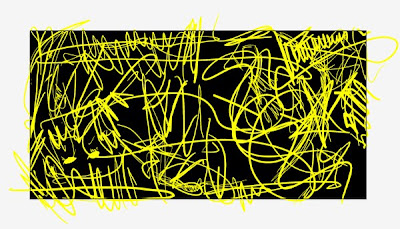
Hide the text layer, create a new one, call it ‘Yellow’ and place it on top of the stack. Double click the Blob Brush Tool and tweek the settings. The settings that worked for me were Fidelity: 2 and Smoothness: 0. I adjusted the size to 30 px and kept an equally high variation. Since I used specific dimensions for my artboard, you may find other options work better for you. Since previous versions of Illustrator do have the Blob Brush Tool, you can achieve a similar effect by using the general Brush Tool. Make sure to expand the strokes after you paint them and merge them together using the Unite Option in the Pathfinder Palette. Now take your tablet stylus and start drawing yellow lines all around the artboard. There is no specific way to achieve the desired effect – just be natural!
Step 4
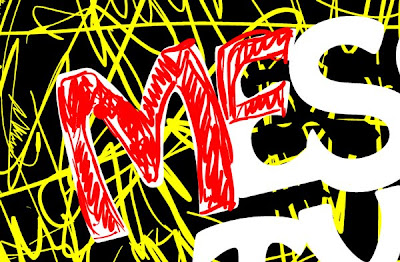
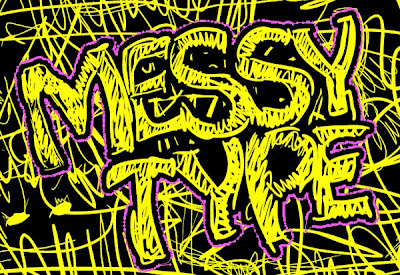
Drag the Text layer to the top of the stack and fill the letter shapes with white. Select a distinct color and doodle and zig-zag over the letters to give them a nice scribbled quality. After you finish, feel free to either hide or delete the letter template.
Step 5
Select all the scribbled letters’ shapes, the easiest way to do this is to select one and go to Select Menu and choose Same > Fill Color. Change the color to yellow and go to the Object Menu > Path and choose Offset Path. Input 20px, click OK and set the offset color to Black. This ensures that there are no strange artifacts inside the letters as well a nice contrast from the background.
Step 6
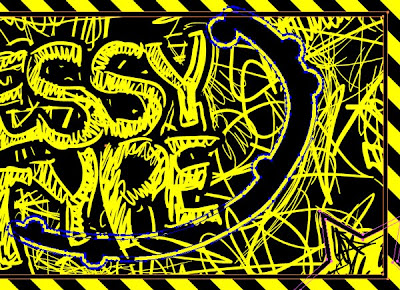
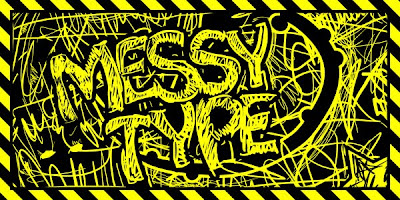
Since you have achieved the desired effect, you are basically done. However, play a little bit more by adding some stray shapes just to spice up the artwork. I went ahead and added a scribbled star, some black splatters with a yellow outline and a frame.
Conclusion
There you go – your messy type is ready! Using the tablet to make a design such as this is extremely fast and produces great results. Now it’s up to you to explore other applications of this technique.


1 ulasan:
nanged and followed and clicked ads ;)
Catat Ulasan