BEBERAPE GAMBAR DENGAN SEKALIRAP
Tutorial Details / Basix, Tools & Tips
* Program: Adobe Photoshop CS3+
* Difficulty: Beginner
* Estimated Completion Time: 5 - 10 Minute
Step 1
In my particular case , I decided to apply a vintage effect to all the photos in a folder on my machine. So the first step is to open a folder with all the photos you want to apply an effect to.
Step 2
Next, choose a random photograph and open it in Photoshop.
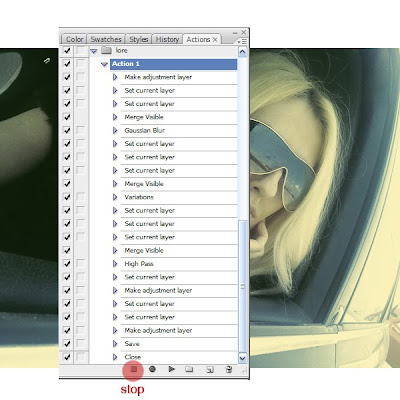
To apply the same effect to all the photos you will need to create an action. Go to the actions panel and press the New Action button. Name it Action 1.
Press record.
Step 3
In this step I will detail all the steps I took to apply a vintage effect to my images but you should feel free to apply any effects that you see fit, depending on your project. Keep in mind that you are recording so every step you take from this moment on will be recorded until you press the Stop button.
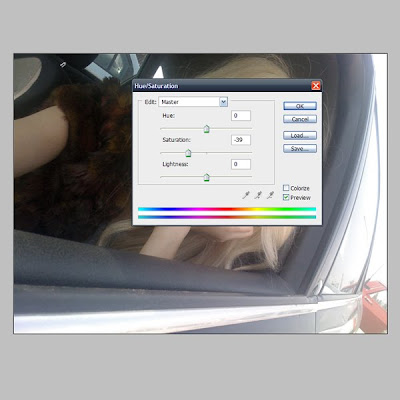
Apply an Adjustment Layer > Hue/Saturation.
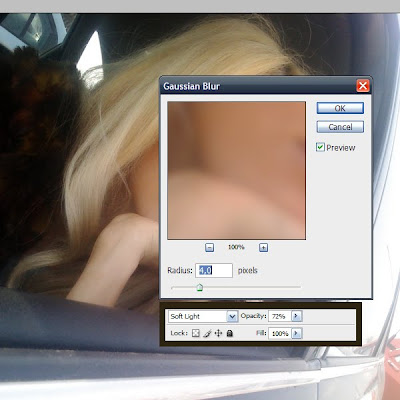
Go to Filter > Blur > Gaussian Blur: 4 px. Layer Blending Mode: Soft Light. Opacity: 70%.
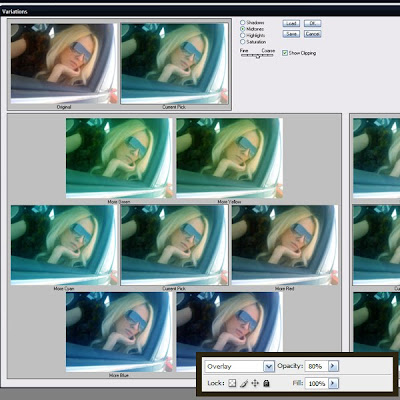
Go to Image > Adjustments > Variations (2 clicks on more cyan ). Blending mode: Overlay. Opacity: 80%.
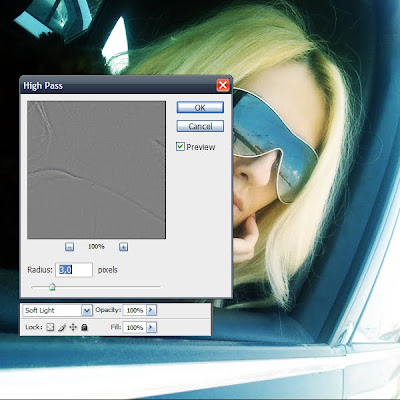
Go to Filter > Other > High pass: 3 px. Layer Blending Mode: Soft Light.
Go to Adjustment Layer > Gradient Map. Opacity: 60%.
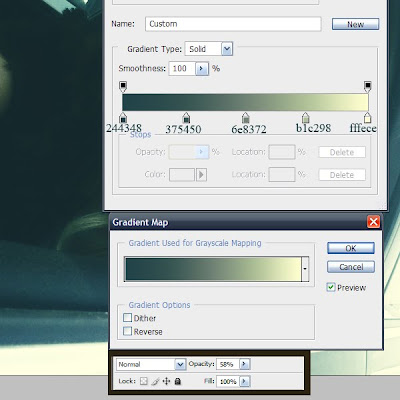
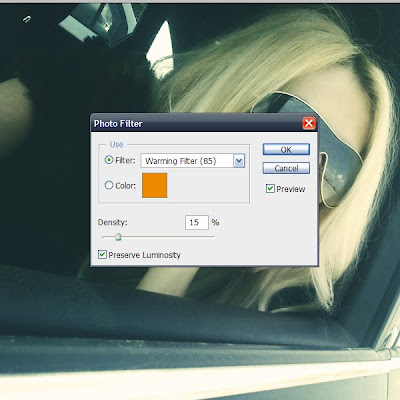
Go to Adjustment Layer > Photo Filter: 15%.
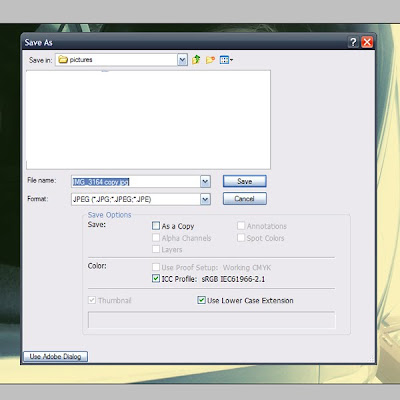
Now let’s save our work as a JPEG. This is very important because it needs to be recorded as an action. Name it as Copy as shown below.
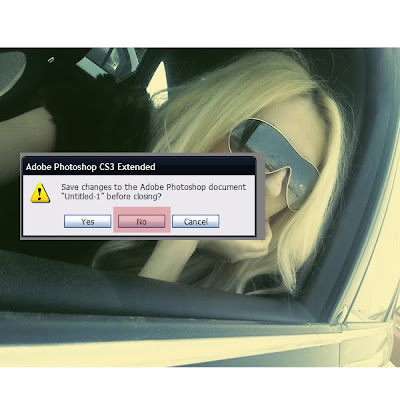
Next, close the document. When prompted to save the changes in a PSD, select No. This is necessary because otherwise Photoshop will ask you the same question for all your photos.
Step 4
Now the action is ready. Press the Stop button.
Step 5
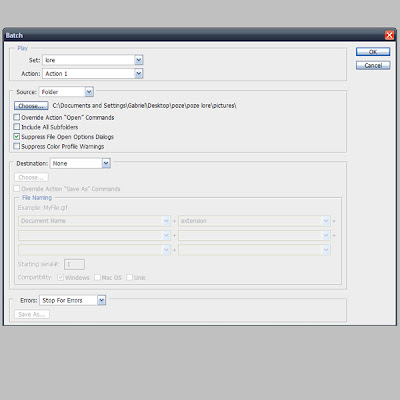
Go to File > Automate > Batch. Select Action 1, go to Source and select the folder in which your photos are located. Check Suppress File Open Options Dialog and press Ok.
Step 6
Sit back and watch as Photoshop does all the work for.

Conclusion
That’s it! We’re finished! Hope you learned something new!


Tiada ulasan:
Catat Ulasan